Once you have finished printing out 3D models from your Sonic Mini 4K, your prints need to be cleaned and post-processed thoroughly. In this article, we'll demonstrate how to thoroughly clean your 3D models.
Getting Prepared
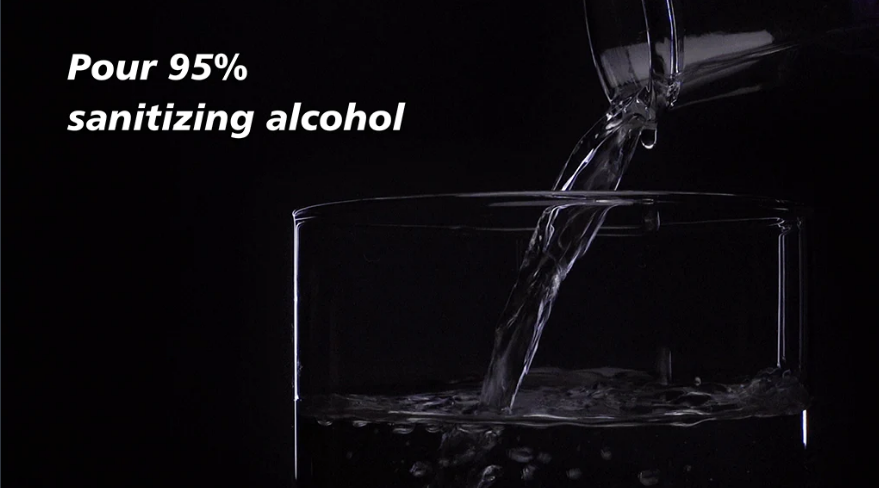
- Pour Sanitizing Alcohol
- Prepare Phrozen Wash or 95% alcohol, IPA, paper towels, and a cardboard box for discarding post-processing waste.
- Handle with care as the liquid may be flammable.
Clean the Building Plate
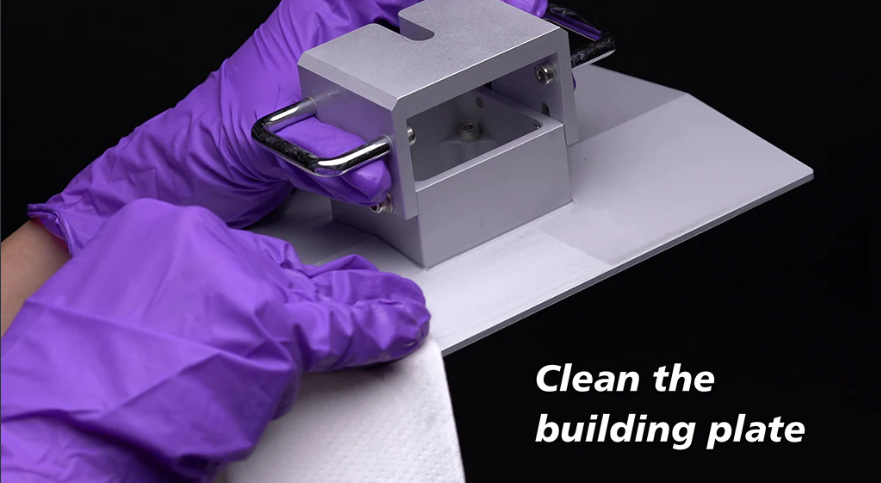
- Remove the plastic case of the resin 3D printer.
- Loosen the build plate knob to remove the build plate.
- Use a paper towel to wipe the edges and the top of the build plate.
Remove the 3D Model from the Building Plate

- Place the build plate on a flat surface.
- Use the metal scraper or a utility knife to remove the model.
Clean the Model
For Water-Washable resin, please refer to our previous blog post.
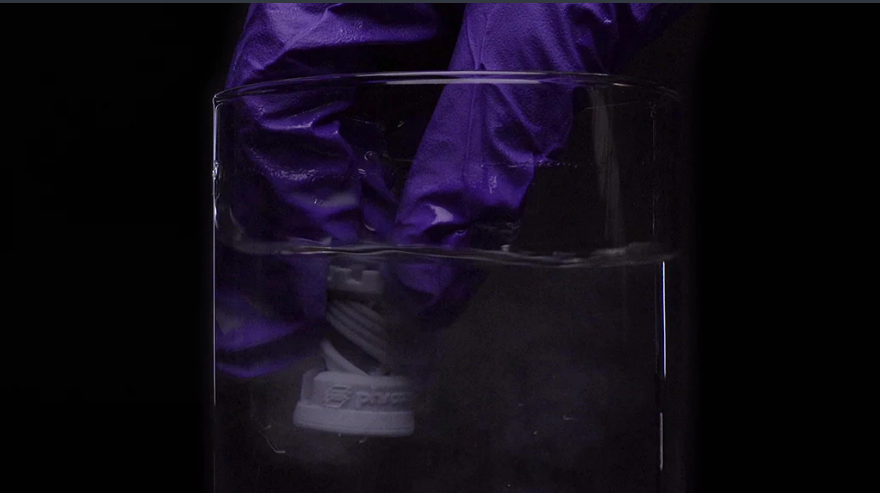
- Use an Ultrasonic Cleaner:
- Prepare two basins and an Ultrasonic Cleaner with Phrozen Wash or 95% alcohol, IPA.
- Wash and rinse the 3D model in each basin for 3 minutes.
- Soak the model in the Ultrasonic Cleaner for 3 minutes.
Since liquids can be flammable and tend to evaporate quickly, it's important to store them in an airtight container after cleaning your 3D prints. This will help keep you safe and ensure that you have enough liquid for future use.
- Without an Ultrasonic Cleaner:
- Prepare two basins with Phrozen Wash or 95% alcohol, IPA.
- Wash and rinse the 3D model in each basin for 1-3 minutes.
- Use a soft brush for better results.
Using a toothbrush is not recommended, as it may cause scratches on the surface of your 3D print. We suggest using a soft-bristled brush or cloth instead to ensure that your print stays in top condition.
Remove Supports from the 3D Model
- Carefully snip off supports with a snip cutter.
Remove supports after post-curing for a smoother surface finish.
Dry the 3D Model
- Leave the model to dry in a shaded area for 30-60 minutes.
- Ensure no uncured resin is left on the 3D print.
- Optionally, use a compressed air gun to expedite the drying process.
Post-Curing
- After complete drying, place the model in a Phrozen Curing Unit or use direct sunlight.
- If using sunlight, rotate the model to ensure equal exposure.
Final Result
-
- Check if the result comes out successfully.
Comments
0 comments
Article is closed for comments.